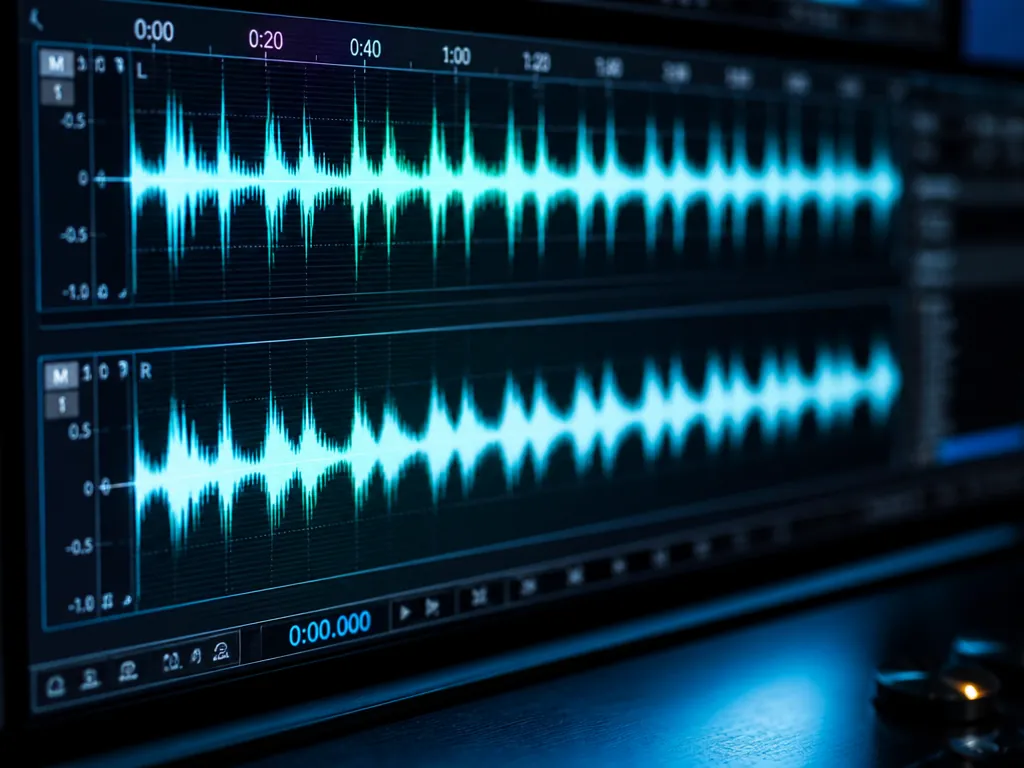
The vocal sat at six decibels of gain reduction and still sounded wrong. Not squashed — shoved. Every line arrived a fraction late and left a fraction early, like someone was riding a fader half a beat behind the singer. This was a trailer cut for an indie game, due Friday, and the whole chain was built from free plugins: a leveler, a peak catcher, a touch of saturation, none of it costing anything. The free part was not the problem. The order was.
I spent the first three years of my mixing life turning the Ratio knob because a forum said 4:1 was correct for vocals, and hearing nothing I could put into words. What fixed that was not a better compressor. It was working out that a compressor is not a row of knobs sitting side by side — it is a sequence of events that happens in a fixed order, thousands of times a second, and every control intervenes at exactly one point in that sequence. Set the controls in the order the process runs and the thing becomes legible. Set them in the order the GUI lays them out and you are guessing with conviction.
So this piece follows the signal. What happens first, what happens next, what happens last — and where your hand goes at each stage.
What actually happens between input and output
Audio arrives at the plugin and immediately splits in two. One copy goes to the audio path, where it will eventually get turned down. The other goes to the detector — the side of the compressor that decides how much turning down to do. Almost every confusing thing a compressor does traces back to the detector, not the audio path, and almost nobody thinks about it first.
Stage one, the detector measures level. It does this either as peak (instantaneous, catches the spike on a hard consonant) or as RMS/average (a running window of a few milliseconds to a few tens of milliseconds, which follows the body of the note and ignores the spike). Same singer, same threshold, wildly different behaviour. Some free compressors let you pick; some pick for you and don't tell you.
Stage two, the detector signal is often filtered before anything is measured. A high-pass on the detector — the sidechain filter — means low frequencies stop driving gain reduction. A vocal has enormous energy below 150 Hz that you don't perceive as loudness, plus plosives that are effectively subsonic explosions. If the detector sees them, the whole vocal ducks every time the singer hits a P.
Stage three, that filtered, measured level gets compared to the threshold. Above it, the compressor has work to do. Below it, nothing happens. This is a comparison, not a sound — the threshold on its own makes no noise.
Stage four, the attack time determines how fast the gain reduction ramps in once the threshold is crossed. This is where transients live or die. A 1 ms attack catches the front edge of a consonant. A 30 ms attack lets that edge through and clamps the sustained part behind it.
Stage five, the ratio and knee decide how deep the reduction goes once it has ramped in. Ratio is a scaling factor applied to the overshoot: 4:1 means 8 dB over the threshold becomes 2 dB over. The knee decides whether that scaling switches on abruptly at the threshold or eases in over a few decibels either side.
Stage six, the release determines how fast gain comes back once the detector drops below the threshold again. This is the control that makes compression audible as a movement rather than a level. Almost every mix where you can hear the compressor breathing has a release problem, not a ratio problem.
Then the signal hits makeup gain, which is arithmetic, not compression — you turn back up what you turned down, and every judgement you make about whether the compressor helped is contaminated until you've done it accurately.
Six stages, one direction. Now set them in that direction.
The procedure, in signal order
This assumes a lead vocal recorded to 24-bit, 48 kHz WAV — the sample rate you want if the mix is going anywhere near picture or a game engine. If your session is at 44.1, decide once, at the top, and stay there.
1. Clip-gain the loudest words before you open a plugin. Go through the take and pull the four or five loudest syllables down with clip gain or region gain until the waveform looks broadly even end to end. You should see peaks sitting within roughly 6 dB of each other across the whole take. This is the single highest-value ten minutes in vocal mixing, and it means the compressor gets to shape character instead of doing damage control on one screamed word in bar 17.
2. Set the level going in, because some compressors have no threshold at all. Aim for peaks around −6 dBFS and an average somewhere near −18 dBFS. Threshold-less designs — the two-knob freeware levelers that only give you Input and Output — react entirely to how hard you drive them, and modelled hardware has an internal operating point it expects you to hit. You should see the gain reduction meter twitching on the loudest phrases, not pinned and not asleep.

3. High-pass the detector at 80–120 Hz. If the plugin has a sidechain or detector filter, engage it there. If it doesn't, put a high-pass filter before the compressor at 80 Hz — you almost certainly want one on a vocal anyway. You should hear the vocal stop flinching on plosives, and the low body of the voice stop pulling the whole word down with it.
4. Choose the detector type before you touch anything else. RMS or average for level-riding and body; peak for catching spikes. If the plugin offers an RMS window in milliseconds, longer windows behave more like a slow leveler. You should hear RMS mode as a steady weight that arrives after the word starts, and peak mode as something that grabs the front of the word.
5. Park the ratio at 3:1 and lower the threshold until the meter moves only on the loudest phrases. Medium attack, medium release for now — these are placeholders. Target 3–4 dB of gain reduction on the loudest phrase in the take and none at all in the quiet lines. You should see the meter returning fully to zero between phrases. If it never returns to zero, the threshold is too low and everything you do after this will be built on sand.
6. Set the attack by finding where consonants start to dull, then back off. Start slow — around 30 ms — and walk it down while looping a phrase with hard consonants in it. There is a point where the T's and K's lose their edge and the vocal moves back in the picture. You should hear that dulling arrive suddenly; stop one notch above it. Fast attack times make a voice sound closer and more intimate but less articulate. That's a taste decision, and it is yours, but make it knowingly.
7. Set the release against the tempo of the track. Divide 60,000 by the BPM to get a quarter note in milliseconds — 120 BPM gives you 500 ms, so an eighth is 250 ms and a sixteenth is 125 ms. Aim for gain to be most of the way back by the next syllable. You should hear pumping if it's too fast and a dead patch after loud lines if it's too slow. Auto-release, on the free compressors that offer a program-dependent mode, is genuinely a good answer on dense material and I use it more than I expected to.
8. Now set the ratio. Last, because ratio scales the depth of everything the previous four decisions already shaped, and changing it early invalidates them. 2:1 to 3:1 holds a lead vocal in place without announcing itself; 4:1 and up is control, not glue. You should see your gain reduction target move when you change ratio — go back and nudge the threshold to restore it.
9. Match the makeup gain and bypass, honestly. Turn the output up until bypassed and engaged sound equally loud, then A/B. You should hear the compressed version sound more even, more forward, and no louder. Louder always sounds better for about four seconds, which is exactly long enough to make a bad decision.
10. If you need more than about 6 dB, split it across two stages. A slow leveler doing 2–3 dB into a faster compressor doing 2–3 dB is almost always more transparent than one plugin doing 6. You should hear a vocal that sits still without any single moment where you can point at the compressor. Two free compressors in series will beat one expensive one used badly, every time.
Starting points, not settings
These are places to begin the procedure above, not destinations. The take in front of you outranks any table.
| Source | Detector | Ratio | Attack | Release | GR target |
|---|---|---|---|---|---|
| Rap, close-mic, aggressive | Peak | 4:1 | 5–10 ms | 60–100 ms | 4–6 dB |
| Sung pop/rock lead | RMS | 3:1 | 10–20 ms | 80–150 ms or auto | 3–5 dB |
| Podcast / VO | RMS | 2.5:1 | 15–30 ms | 150–250 ms | 3–4 dB |
| Screamed / hardcore | Peak | 6:1+ | 1–3 ms | 40–80 ms | 6–10 dB, two stages |
| AI-rendered vocal stem | RMS | 2:1 | 20–30 ms | 200 ms+ | 2–3 dB |
Are free plugins good enough for professional vocals?
Yes. A compressor is a level detector, a gain element and a set of time constants, and the mathematics of all three has been in the public domain for decades. Several freeware compressors are cleaner than the hardware they're imitating, and nobody listening to your game trailer, your podcast or your record can hear what you paid for the plugin. The gap between a free compressor and a paid one is smaller than the gap between 3 dB and 6 dB of gain reduction on the same take.
The real differences are in the things around the compression. Paid tools tend to have better metering — a gain-reduction display with actual numbers and a usable time base, which matters more than it sounds when you're learning what 3 dB looks like. They more often include a proper sidechain filter with a frequency control rather than a fixed switch, oversampling to keep fast attack times from generating aliasing on bright sources, and delta/listen modes that let you hear only what's being removed. They also tend to survive OS updates.
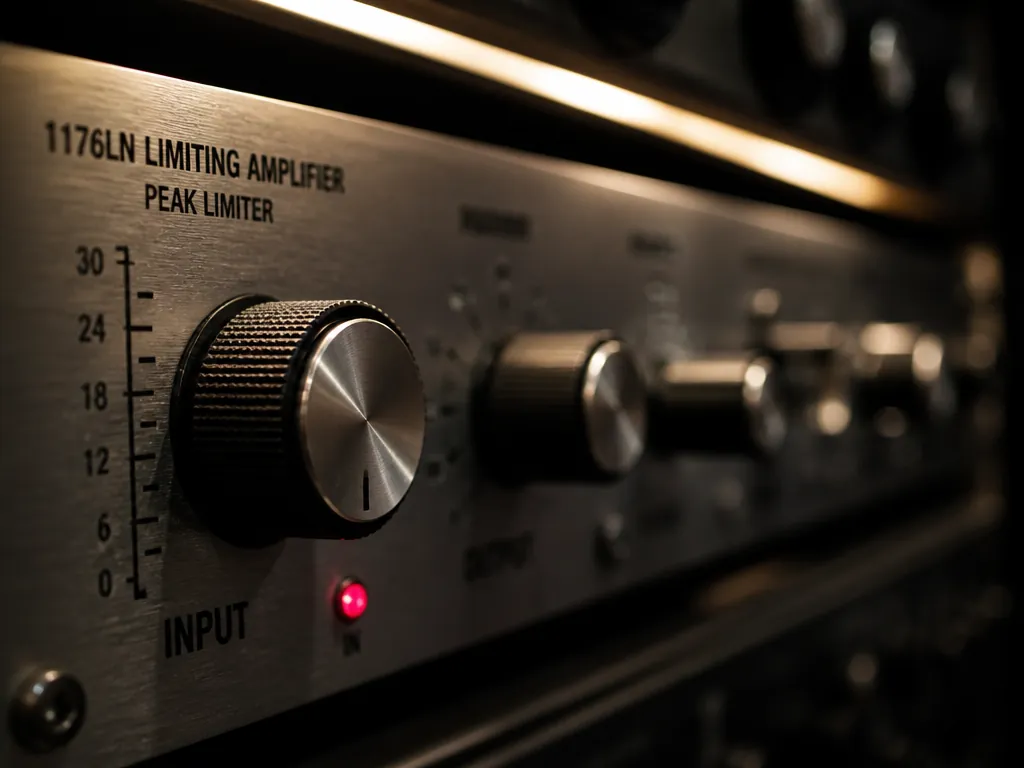
None of those are the sound. All of them are the ergonomics of getting to the sound, which is a legitimate thing to pay for once you know what you're paying for. Learn the mechanism on something that costs nothing, then buy the tool that removes the specific friction you've actually noticed.
Three roles, not ten plugins
The failure mode with freeware is collecting it. Forty compressors on your drive is a way of avoiding the ninety minutes it takes to learn one. You need three roles filled, and you can fill them permanently.
The leveler. Slow, program-dependent, forgiving — an opto or variable-mu character that rides the performance rather than catching transients. Klanghelm's MJUC jr and the free tier of Tokyo Dawn Labs' Kotelnikov both do this well, and both are deliberately hard to make sound bad. This is your first stage.
The catcher. Fast, precise, with real attack and release controls and ideally a detector filter. ReaComp, which ships inside the free ReaPlugs bundle regardless of which DAW you're in, is unglamorous and gives you every parameter this article discusses on one panel. Klanghelm's DC1A in its faster mode does the same job with two knobs and more attitude. This is your second stage.
The colour. Saturation, not compression, though the two blur. Airwindows publishes dozens of these as open source with no interface beyond generic sliders, which is a feature — you listen instead of looking. Xfer's OTT is a different animal entirely, a multiband upward-and-downward compressor that is a legitimate effect and a terrible general-purpose vocal leveler.
A fourth thing worth more than a fourth compressor: a free loudness meter. Youlean's free tier will show you what your level-matched bypass is actually doing, which turns step 9 from a guess into a measurement.
Check the developer's own page rather than a mirror. Free tiers, bundles and download channels move around, and some of these have changed distribution more than once.
What free costs you
Unsigned installers are the everyday friction. Windows SmartScreen will warn you about small-developer builds that haven't been through code signing, and macOS Gatekeeper will refuse to open an unnotarised plugin until you approve it in Security settings. This is a cost-of-certificates problem, not a malware signal — but verify you're downloading from the developer's actual domain, because that's the assumption the whole thing rests on.
Format coverage is uneven. Some excellent free plugins never got a VST3 build, never went native on Apple silicon, or exist only as 32-bit relics. Your DAW may or may not bridge them, and the bridge may or may not survive the next update.
Abandonment is the one that costs real money. A discontinued free compressor that stops loading takes your session recall with it. If a mix might come back for revisions in a year, bounce stems at the end of the session and screenshot your settings. That habit is cheap now and priceless later.
And read the licence. "Free" and "free for commercial use" are separate claims, and a handful of freeware plugins are personal-use only. If the render is going to a client, a store page or a monetised channel, the two minutes spent on the EULA is part of the job — the same way you'd check a sample pack's terms before it went into a shipped game.
Compressing a vocal a model rendered
Here is a case the mechanism explains cleanly. Vocals that come out of a generative model usually arrive pre-processed: already compressed, often already limited, with a dynamic range that has been decided for you somewhere upstream. The detector in your compressor sees a signal that barely moves, so the threshold has to sit very low before the meter budges — and by then you're compressing everything, including the artefacts.
What gets pulled up is specific and recognisable: smeared consonants, a grainy texture on held notes, and reverb-like tails that aren't reverb and don't decay the way a room does. Compression raises the quiet parts, and on a rendered vocal the quiet parts are where the model's seams are. I've made more AI vocals sound worse with a compressor than better.
Go gentler than instinct says. Ratio around 2:1, attack slow enough to leave the front of words alone, 2–3 dB of reduction as a ceiling, and do the rest with clip gain and volume automation, which introduce nothing. If the tool gave you separated stems rather than a stereo bounce, that's where the real leverage is — a vocal you can compress independently of the backing is worth more than a marginally cleaner render. Which tools hand back stems and which hand back a mixdown is something we track in the comparison pages here, and it's the spec I'd check before the one on audio quality.
The procedure doesn't change. The amount does.
Tonight's rule: set makeup gain until bypass sounds equally loud, and if the vocal doesn't sound better with the compressor in at that matched level, take it out — you were paying attention to the meter instead of the singer.
Not sure which tool to use?
Compare the top AI music and sound tools side by side — honest reviews, real pricing, no sponsorships.