The first time you run a KORG phase8 into an audio interface, the meter barely moves. You hear a small metallic tick and a short ring that dies before the next step, quieter than the fan in your laptop. Most people reach for the gain knob at that point. A better move is to stop and listen to what the instrument is telling you, which is that the sound starts as a physical event in the room and only becomes an audio signal afterwards. Every useful decision you make with it follows that order.
This piece follows the same order. It traces one note from the moment the sequencer fires to the moment it lands in your DAW, and at each stage it covers what you can change, how to change it, and what you should hear once you have.
What the phase8 actually is
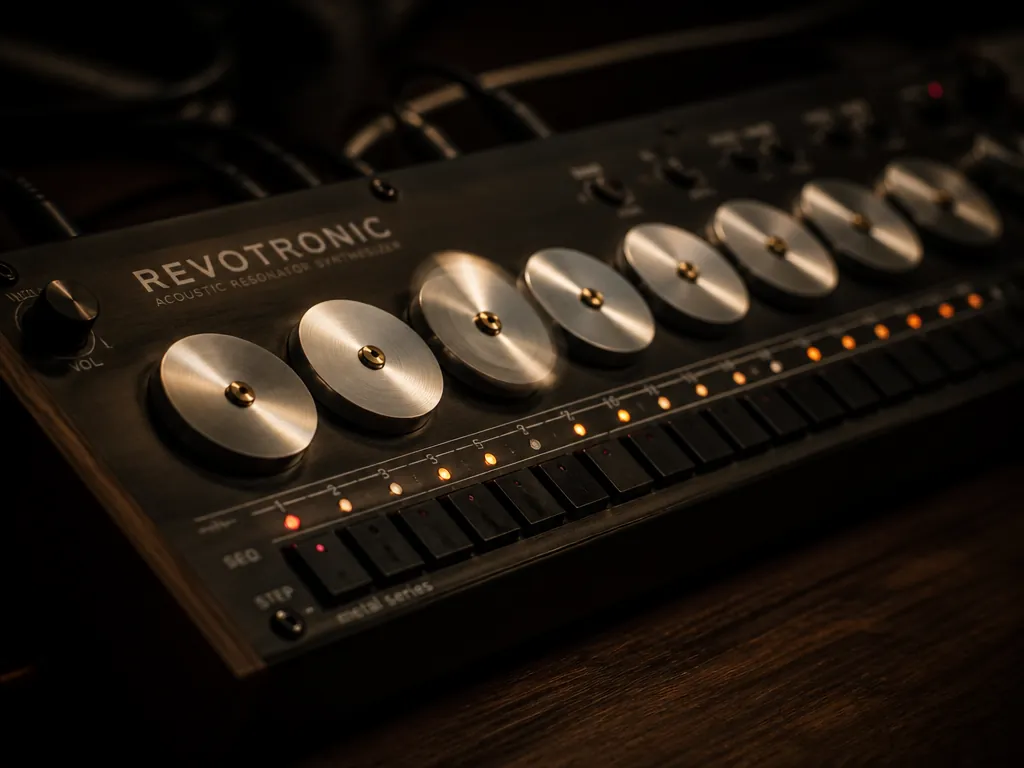
KORG calls it an acoustic synthesizer. Instead of an oscillator, each of its eight voices is a physical metal resonator. An electromagnetic actuator excites the resonator, a pickup senses the vibration, and the onboard sequencer decides when all of that happens. It was a talking point at trade shows (including Superbooth), and the demo videos tend to make it look like a tidy, glowing drum machine. In the hand it's closer to a small prepared instrument that happens to have a step sequencer attached. Check KORG's own documentation for exact specs and I/O as of when you read this, because those details are the kind that change between a launch and a revision.
Why should a sound designer care? It produces percussion that nobody else's sample pack contains, recorded from an object you own, in a session you ran. You don't have to clear anything. You also can't fully repeat it, and that turns out to be the point.
Is the KORG phase8 a synth or a drum machine?
It's both, in a specific order. The phase8 sequences like a drum machine, but the sound comes from real vibrating metal, so it behaves like an acoustic percussion instrument with an electronic brain. The sequencer controls timing and how the resonators are excited. The physics of the resonators, plus whatever your hands and objects do to them, controls the timbre. If you go in expecting a drum machine, you'll find it quiet and inconsistent. If you go in expecting an instrument you play, the inconsistency becomes the material.
Stage one: the strike
Everything begins with the sequencer telling an actuator to excite a resonator. Nothing you do later can add energy that wasn't put in here, so set this stage up deliberately.
- Program one voice, one step, nothing else. Mute or clear the other seven voices and place a single trigger on step one at a slow tempo, somewhere around 80 to 90 BPM. What you should hear: one isolated ping per bar with silence around it. That gives you room to hear the full decay.
- Find the strike's range on that voice. Using whatever per-step or per-voice excitation controls your firmware exposes, move from the gentlest setting to the hardest and listen at each point. What you should hear: at the low end, a soft bloom that is mostly fundamental. At the high end, a brighter attack with more metallic overtone and a longer tail. If the low end produces nothing, you're under the threshold where the resonator speaks. Note where that threshold sits, because it's the floor for ghost notes later.
- Add a second trigger and listen for overlap. Put a hit on step nine, or any step that lands while the first one is still ringing. What you should hear: the second strike interacts with a resonator that is already moving. Sometimes it reinforces the ring and sometimes it chokes it slightly. The variation is small, but it's real, and it's the first sign that this isn't sample playback.
Once you can hear the difference between a soft strike and a hard one on a single voice, the sequencer stops being a grid of on/off events and becomes a grid of physical gestures.
Stage two: the ring
After the strike, the resonator vibrates according to its own physics, meaning its pitch, its material and anything touching it. This is the stage where the instrument stops being something you program and becomes something you play.
- Tune the voice you're working on. Follow the tuning method in the manual for your unit and tune against a reference. A tuner plugin on the input channel is enough. What you should hear: a clear, stable pitch centre once the attack transient passes. Tune all eight to a scale you'll actually use, such as a minor pentatonic in the key of your game's main theme, rather than leaving them at whatever pitches they shipped with.
- Put a fingertip on the resonator while it rings. Try the edge, then the middle, and vary the pressure. What you should hear: light contact shortens the decay and pulls out the brightness, a bit like a palm mute on a guitar. Firmer contact turns the hit into a dry, woody click. Doing this live while the sequence runs is the core performance skill, because you're shaping envelopes with your hand in real time.
- Rest an object on a resonator. Try a paper clip, a bit of blu-tack, a folded strip of foil or a small coin, and stay well within what the manual says is safe for the hardware. What you should hear: buzzes, rattles, detuned partials and sometimes a sitar-like sizzle. Foil gives you a snare-wire fizz on a pitched voice. Blu-tack damps the ring and lowers the perceived pitch slightly.
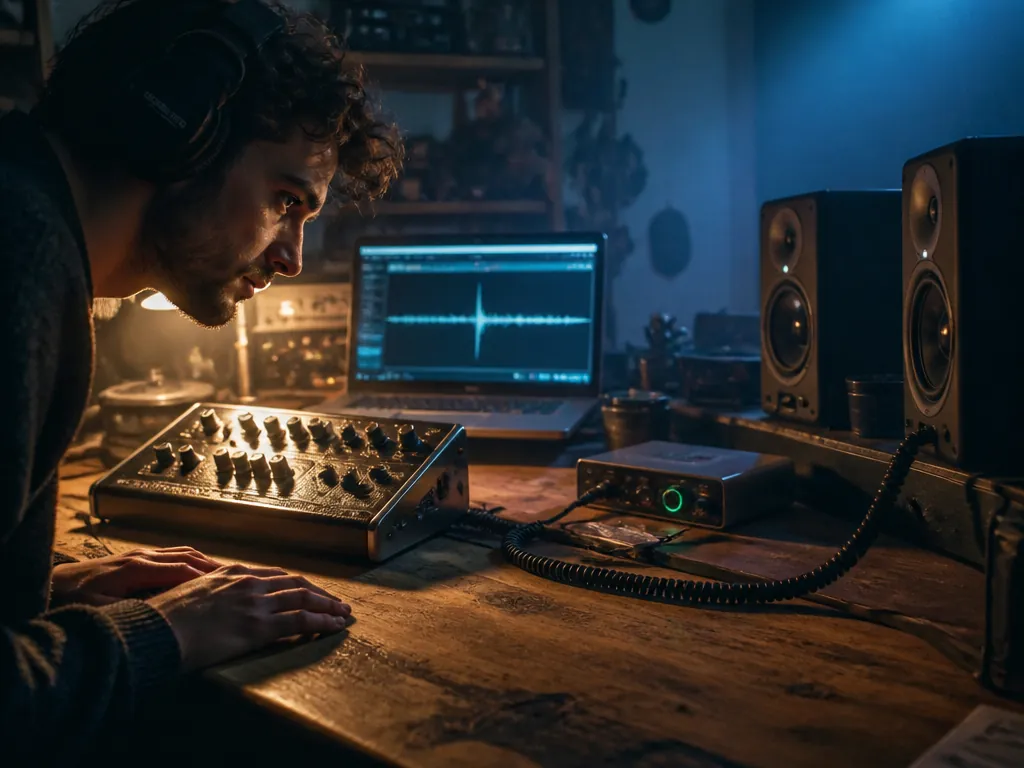
This stage is where the instrument earns its reputation for intimacy, and it's also where people bounce off it. The sound is small, and the gestures that change it are small too. If you play it like an MPC, hitting hard and expecting punch, it will feel timid. If you play it like a kalimba with a sequencer, leaning in, touching and listening, it opens up.
Stage three: the pickup
Next the pickup turns that vibration into voltage, and here you're managing a quiet acoustic signal, not a line-level synth.
- Gain-stage at the interface, not in the DAW. Raise the input gain until your hardest strikes peak around -12 to -10 dBFS, recording at 48kHz/24-bit. What you should hear: the hiss and hum of the room and the electronics sitting well below the tails of your quietest strikes. If the tail of a damped hit disappears into noise, add gain now. Boosting later raises the noise along with it.
- Listen to what the pickup ignores. Put a cheap mic near the instrument as well and compare. What you should hear: the pickup gives you a close, almost x-ray view of the metal, while the mic picks up the air, the clack of the mechanism and the room. Neither one is the true sound. Blending them is a choice you make, and it's a good one when you want the result to feel like an object rather than a synth.
Stage four: the chain after it
Only now does the signal enter the familiar world of processing. The order matters here. Effects can transform what the resonators did, but they can't replace a performance you didn't give.
- Add time-based effects before tone-shaping. Start with a short plate or a 1/8-dotted delay with low feedback. What you should hear: the short decays pick up a halo, and the quiet ghost notes from step 2 suddenly sit in a space instead of vanishing. Most of the striking phase8 recordings in circulation lean heavily on reverb, delay or granular processing. That isn't cheating. It's the same logic as miking a celesta in a hall.
- Record long passes, then cut. Capture three to five minutes per configuration and change your hand position or objects as you go, rather than looping two bars. What you should hear on playback: no two bars are identical. Slice the best moments into a sampler or your game audio middleware as one-shots and loops, and label them by voice, tuning and preparation, for example
p8_v3_Fs_foil_damped_01.wav.
That last step is where the phase8 pays off for game and video work. You end up with a percussion library that is pitched to your project and recorded by you, with no licensing question attached. It also carries small irregularities that read as real, which is exactly what generative tools and sample packs both struggle to give you.
Session checklist
| Stage | What to set | What you should hear when it's right |
|---|---|---|
| Strike | One voice, slow tempo, sweep excitation strength | A clear floor (the softest hit that still speaks) and a bright ceiling |
| Ring: tuning | All eight voices to one scale or key | Stable pitch centres after the transient |
| Ring: hands | Fingertip damping while the sequence runs | Envelopes that change with pressure, from bloom to click |
| Ring: objects | Foil, blu-tack, light metal, within the manual's limits | Buzz, sizzle, detuned partials |
| Pickup | Interface gain to -12 dBFS peaks, 48kHz/24-bit | Quietest tails above the noise floor |
| Chain | Reverb or delay before EQ and saturation | Ghost notes sitting in a space |
| Capture | Long takes, sliced afterwards | Variation across every bar |
Where it struggles
Be honest with yourself about the job. If you need a kick that moves air on a club system, the phase8 isn't that instrument, and layering it under a synthesized sub is the usual fix. It's quiet, which makes it awkward on a loud stage without careful monitoring, and live hand damping needs a monitor mix where you can actually hear it. Repeatability is limited by design, so if a client asks for the exact same hit on every bar, bounce one and sample it. And the learning curve is mostly about listening rather than menus, which some people love and others find slow on a deadline.
For people who find it worth the effort, the reason is the same at every stage. Each point in the chain, from strike to ring to pickup to effects, gives you a physical way to change the sound, and most of those ways involve your hands.
The myth is that the phase8 is a pretty drum machine that's too quiet to be useful. In practice, it's an acoustic instrument you play through a sequencer, and its quietness is what lets your hands into the sound.
Not sure which tool to use?
Compare the top AI music and sound tools side by side — honest reviews, real pricing, no sponsorships.