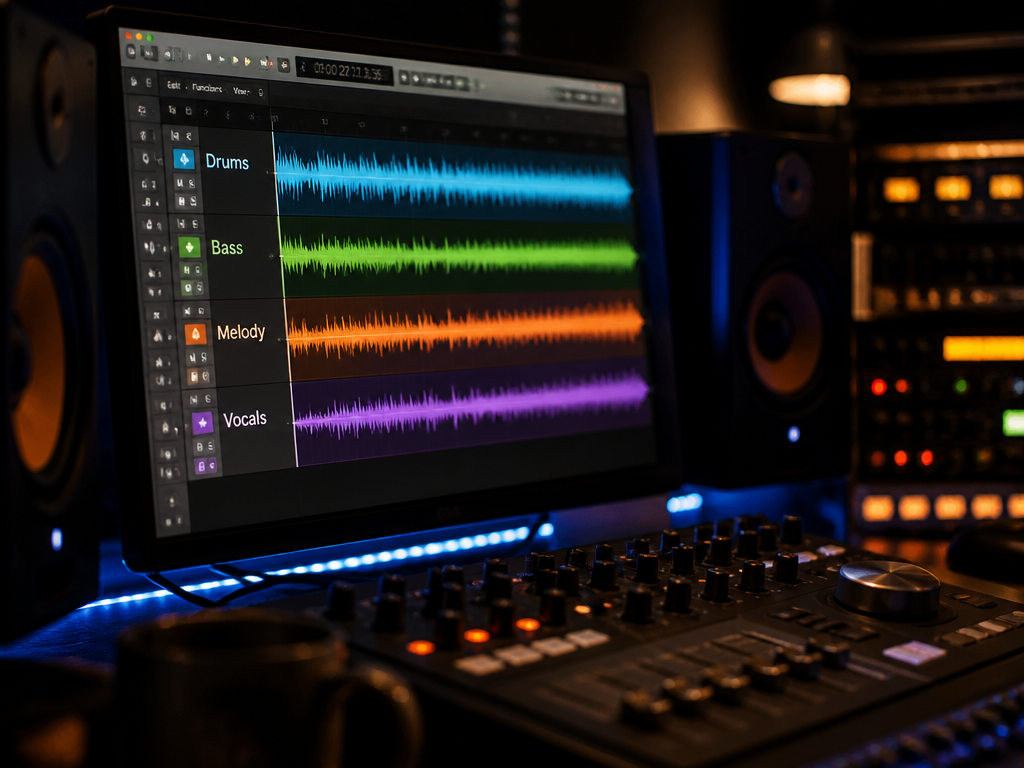
The cue was 1:12 long, 122 BPM, F minor — a rooftop chase for a game build whose vertical slice was due Monday. It had to arrive as four stems rather than a stereo bounce, because the level ducks the drums when the player enters cover. I got a stereo file I liked out of AI music generation on the third batch. Getting four stems out of that file that didn't smear took the rest of the afternoon, and it taught me the thing this piece is about: the separation problem is decided at the prompt, not at the separator.
Here is the actual tally from that session. Around twenty generations, six keepers. Of those six, two came apart cleanly into drums, bass, vocals, and other. Three had a reverb tail that followed the snare into the "other" stem, so every time I muted "other" the drums went dry and wrong. One had a pad sitting on the bass in the same octave; the bass stem came back with a ghost of the pad riding on it, and the pad stem came back thin and papery. Two out of six. The two that worked had exactly one thing in common — I had told the model not to put reverb on the drums.
What stem separation actually does to a generated track
Stem separation does not unmix your track. It re-synthesizes it. A trained model reads the spectrogram, estimates what fraction of each frequency-and-time cell belongs to each source, and builds new audio files out of those estimates. Nothing is recovered from a multitrack that never existed — everything is inferred. That one fact explains most of the frustration people have with the feature.
The common output is four stems: drums, bass, vocals, other. That split is what most separation models were trained on. Some tools offer six, adding guitar and piano, and those extra two are typically the least reliable. "Other" is not really a category. It is the bin for everything the model could not confidently assign — reverb tails, pads, synth texture, hand percussion, and anything sharing a register with a louder neighbour.
Which means the quality of your stems is set before you press generate. A dense, wet, wall-of-sound mix hands the model an ambiguous problem. A dry, register-separated arrangement hands it an easy one. You are not shopping for a better separator; you are giving it a better mix to work from.
The round trip, step by step
This is the loop I run now. Nine steps, one action each. Once the prompt is right it takes about twenty minutes end to end.
-
Write the prompt as an arrangement brief. Name tempo, key, instrumentation, and — this is the part people skip — what should not be in the track. You should see a prompt that reads like a note to a session player, with exclusions in it, rather than a pile of genre tags.
-
Generate a batch of four to eight, not one. One render tells you nothing about whether the prompt is working. You should hear at least one take in the batch land near the energy you asked for; if none do, the prompt is wrong, not the model.
-
Collapse the take to mono before you commit to it. Anything that disappears or turns to mud in mono is masked by something else, and the separator will hit the same overlap. You should still be able to name every element with the stereo field gone.
-
Choose on separability, not on the mix. Prefer the drier, sparser take even when the lush one sounds better on first play — you are going to rebuild the space yourself. You should notice yourself passing over the more impressive render, which feels wrong and is correct.
-
Export the highest-quality master the tool offers, as WAV. Lossy encoding smears high-frequency detail and the separator inherits that smear, then multiplies it across four files. You should see a file in the tens of megabytes, not a two-megabyte MP3.
-
Run separation once, at the slowest quality setting available. Overlap and shift settings trade processing time for cleaner masks, and this is the wrong place to save ninety seconds. You should see four (or six) files land in a folder named after the source.
-
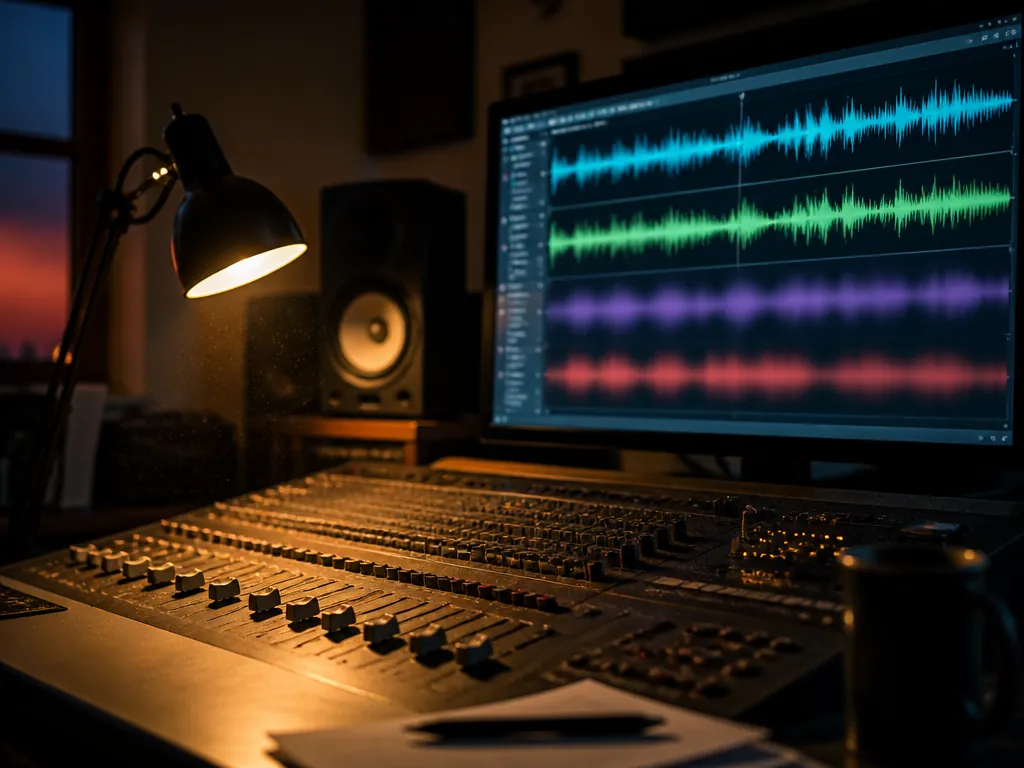
Null-test the result. Load all stems plus the original into your DAW, phase-invert the original, and play everything at unity gain. You should hear the residual drop to a low, diffuse hiss — neural separation never nulls to true silence. If you can still identify an instrument in the residual, something was dropped rather than assigned, and that take is a regenerate, not a repair.
-
Solo "other" and clean it. Listen for drum bleed first. A high-pass around 120 Hz kills most kick spill, and a transient shaper set to reduce attack will push a ghost snare back under the texture. You should hear "other" as pure atmosphere with no rhythm left in it.
-
Conform to your delivery spec and export. 48 kHz WAV for game and video, 44.1 kHz for music release, stems named by role rather than by model output (
chase_122_drums.wav, nothtdemucs_other.wav), loop points trimmed to zero crossings. You should see a folder your programmer or editor can drop in without sending you a question.
A prompt written to come apart
Here is the shape that worked for the chase cue, with the exclusions doing most of the labour:
Instrumental post-punk chase cue, 122 BPM, F minor.
Dry close-mic'd drum kit, no room reverb, no tail.
Single detuned analog bass, low register only, no octave doubling.
One tremolo guitar figure high in the mix.
No pads, no strings, no vocal.
Why each line earns its place:
- "No room reverb, no tail" — reverb is the single largest source of bleed into "other," because a tail is literally the same signal arriving late and diffuse. Add the space yourself after separation, where you control it.
- "Low register only, no octave doubling" — separation models struggle where two sources share a fundamental. Keeping bass under the guitar's floor is free accuracy.
- "One tremolo guitar figure" — a single voice per register. Two guitars panned wide will merge into one smeared stem.
- "No vocal" — an empty vocal stem is not a wasted file. It means the model had one fewer competing source to explain, and the other three stems get cleaner.
Where this still falls apart
Vocals remain the hard case. A dry lead separates reasonably; a doubled, pitched, heavily reverbed lead comes back with a metallic, underwater edge that no amount of EQ fixes. If the vocal is load-bearing, plan to keep the full mix and treat the stems as sweetener.
Genres built on saturation — lo-fi, tape-emulated, shoegaze, anything where the glue is the sound — separate badly by definition, because the model was asked to undo the exact processing that made the track work. Live-room-sounding renders have the same problem for the same reason.
And prompt roulette is real. My twenty-to-six ratio was not unusual, and it is the actual cost of this workflow: not the render time, but the auditioning. Working in one place helps here — City of Punk keeps generation and stem splitting in the same session, which removes the export-upload-download loop between them — but no workspace changes the underlying constraint. A dense generation separates badly whether the separator is one tab away or ten.
Back to the rooftop
The cue that shipped was generation seventeen. Dry kit, one bass, one tremolo figure, nothing in the pad range. It separated in about forty seconds, nulled to a hiss I had to raise the monitors to hear, and the "other" stem needed one high-pass. I built the room reverb back in myself, in the engine, so it changes when the player moves indoors — which the original render could never have done, no matter how good it sounded flat.
The myth is that AI music generation is a slot machine: you pull, you keep whatever falls out, and the render is the finished thing. The more accurate version is that it makes drafts, and a draft is only worth something if you wrote the prompt so that it could be taken apart.
Not sure which tool to use?
Compare the top AI music and sound tools side by side — honest reviews, real pricing, no sponsorships.